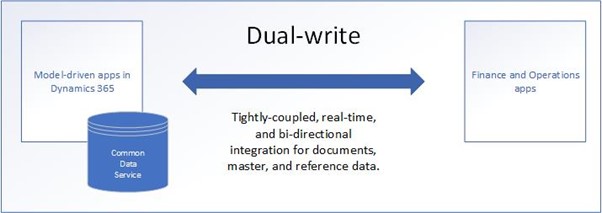
Dual-write is an out-of-box infrastructure that provides near real-time interaction between Microsoft Dynamics 365 Customer Engagement (D365 CE) apps and Microsoft Dynamics 365 Finance and Operations (D365FO) apps.
Dual-write provides a tightly coupled, bidirectional integration between D365FO apps and Dataverse. Any data change in D365FO apps causes writes to Dataverse, and any data change in Dataverse causes writes to D365FO apps. This automated data flow provides an integrated user experience across the apps to simplify processes and reduces the need for duplication of work. This includes masters and transactions such as customers, products, operations, and project data.
Let’s learn how to configure dual-write so you can take full advantage of the integration.
Lifecycle Services (LCS)
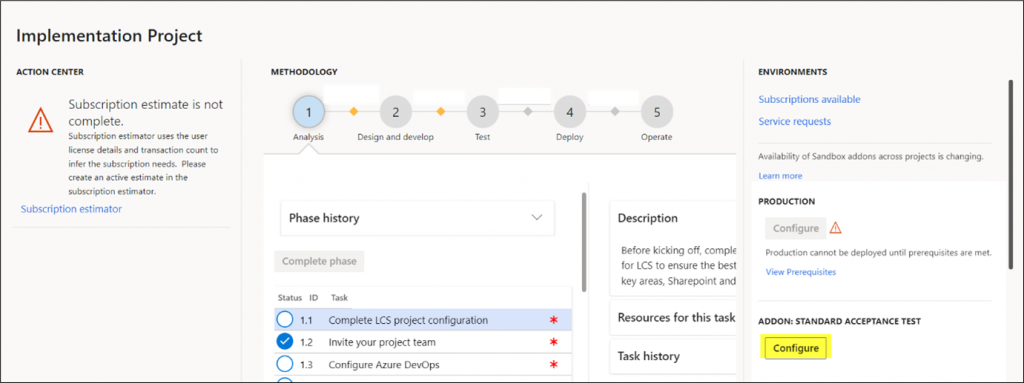
1. Login to LCS using admin credentials. Click on Project area and configure a new sandbox environment.
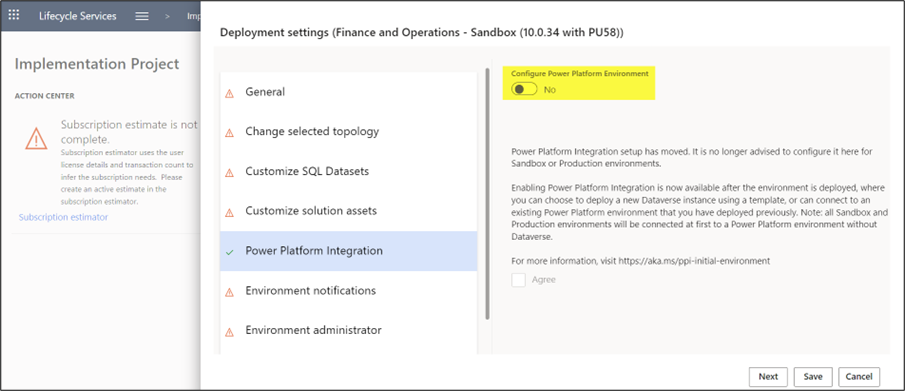
2. Previously there was an option to configure a Power Platform environment when deploying a sandbox environment, but it is no longer available. Now the Power Platform environment will be created after the environment is deployed.
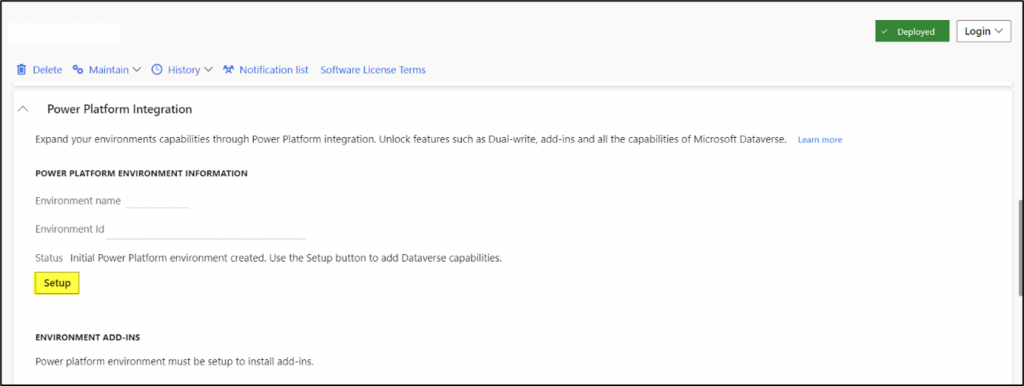
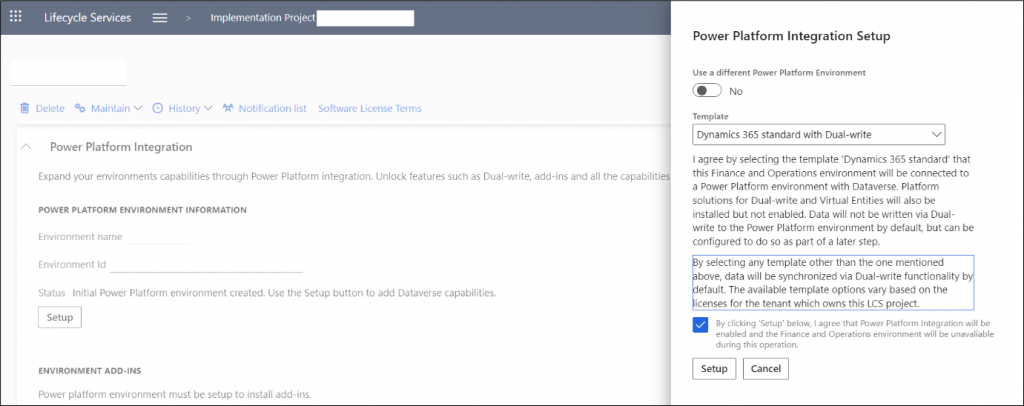
3. Once the environment is deployed, the setup button will be enabled to link to the Power Platform environment. Note that it is not possible to delink the environment. The only way to delink is to submit a ticket to Microsoft for this activity.
4. If a D365 CE environment does not exist, use the below option. This will create a new instance of the D365 CE environment and link it to this D365FO sandbox environment.
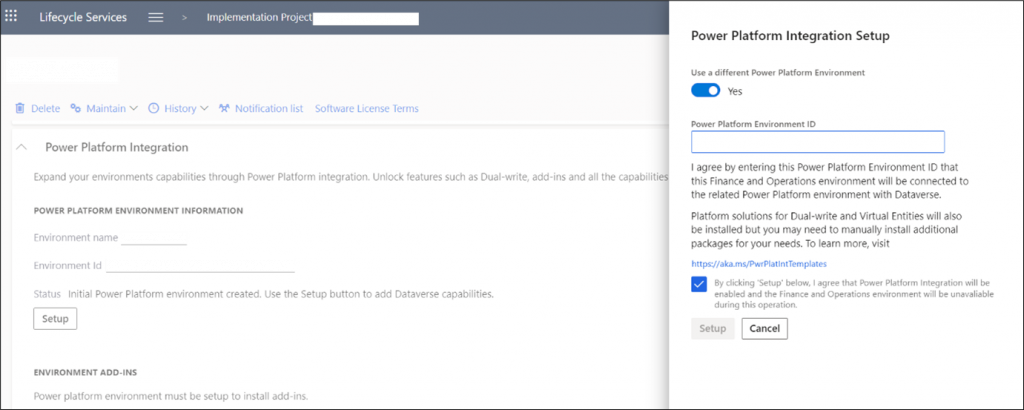
5. If a D365 CE environment already exists, then enter the environment ID.
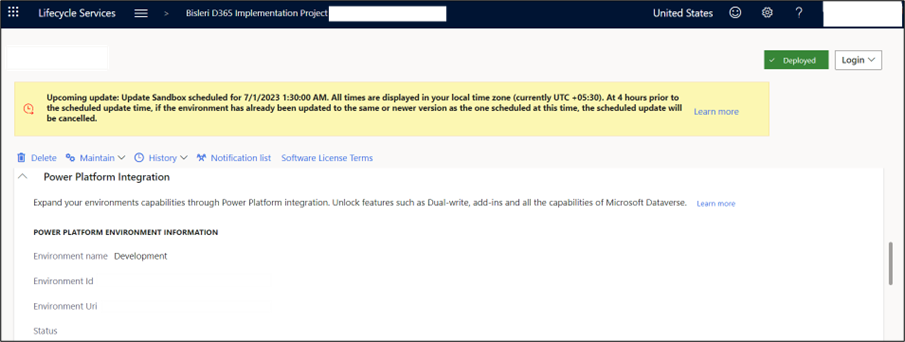
6. Once the steps are completed, the environment URL will be available in the LCS.
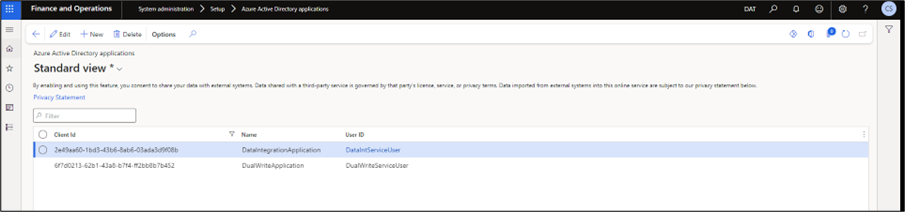
7. Log into D365FO and navigate to Azure Active Directory Applications. Enter the below IDs to grant D365 CE environment access to D365FO:
- 6f7d0213-62b1-43a8-b7f4-ff2bb8b7b452
- 2e49aa60-1bd3-43b6-8ab6-03ada3d9f08b
Power Platform Admin Centre
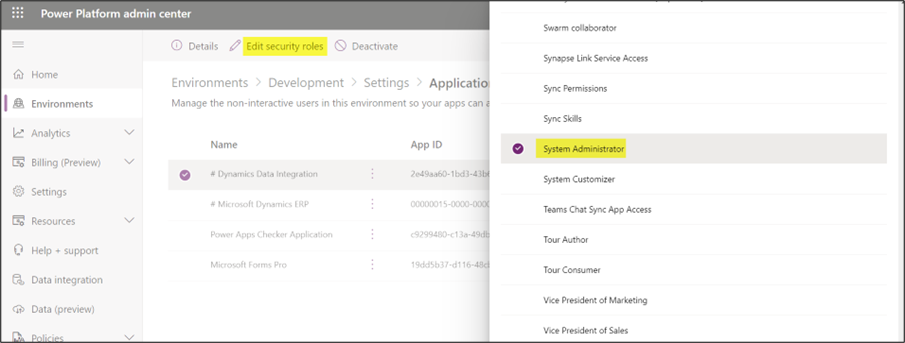
8. Log in to the Power Platform admin portal with the same admin ID used previously. Go to Environments and select the environment connected to the D365FO instance -> Settings -> Application User.
Create the two users below to grant access to the D365FO instance and provide them with a system administrator role:
- 2e49aa60-1bd3-43b6-8ab6-03ada3d9f08b
- 00000015-0000-0000-c000-000000000000
Microsoft Power Apps
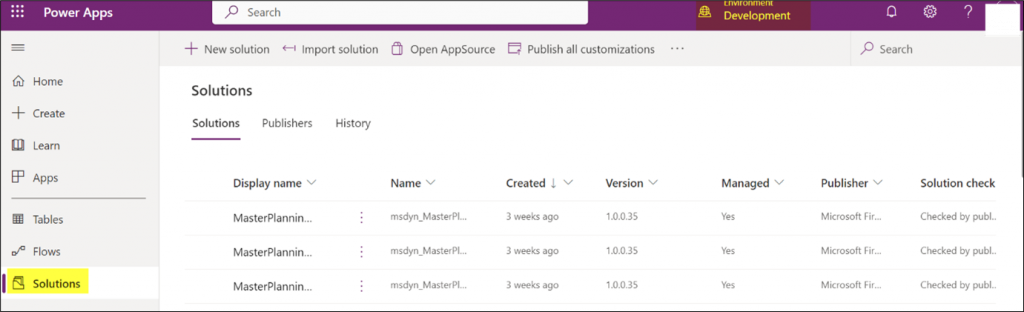
9. Log into the Power Apps portal using the same admin credentials.
Select the D365 CE environment and navigate to solutions:
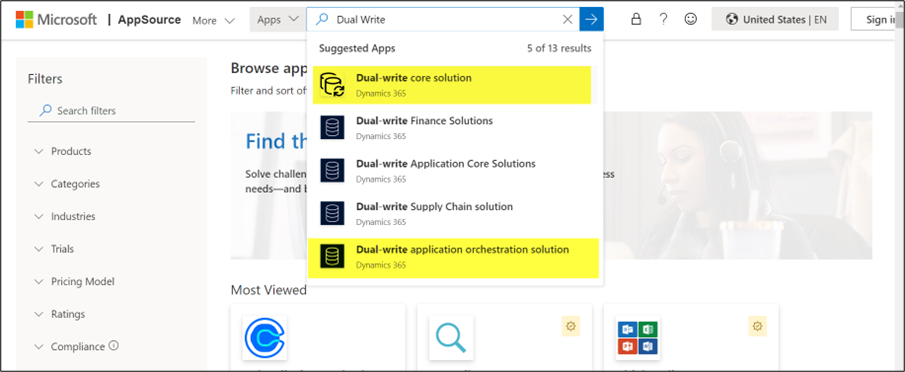
10. From the open AppSource, install the below two solutions:
- Dual-write core solution
- Dual-write application orchestration solution
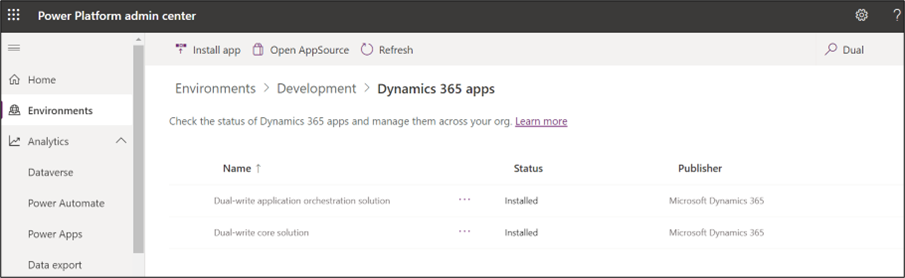
11. Check the installed apps in the Power Platform admin centre.
12. Log into the D365FO instance. Navigate to Data Management and Dual Write Tile.
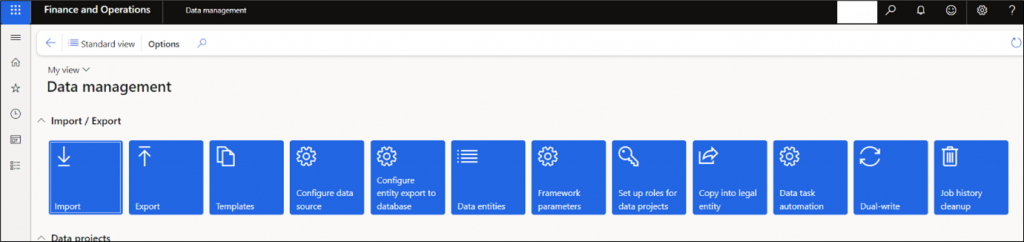
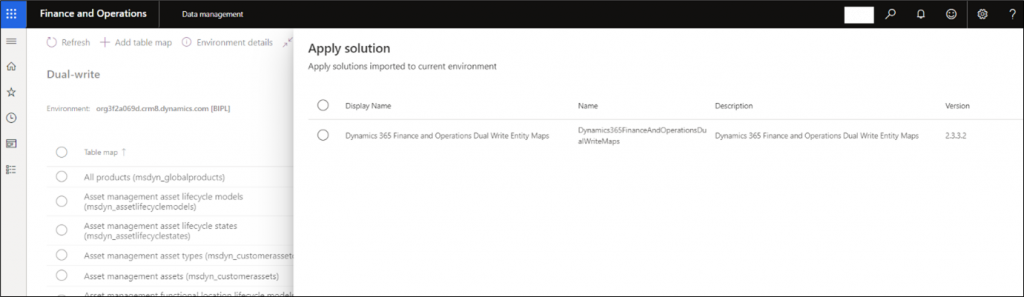
13. Click on Apply Solution and select the solution. This will update D365FO with all the standard table mappings. This step will take approximately 10-15 minutes.
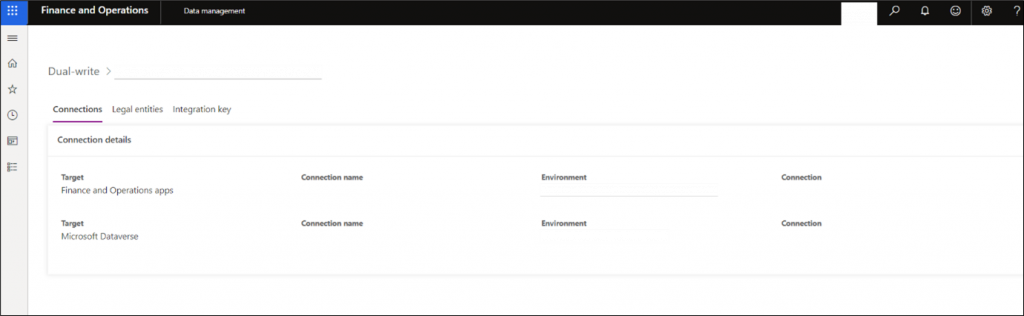
14. Click on Environment Details to view the environments and legal entities mapped.
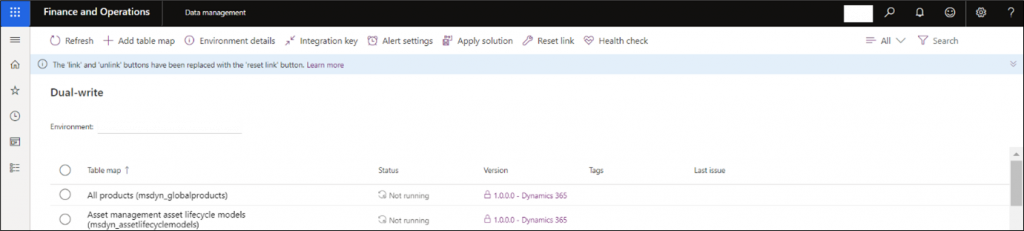
15. After configuring all the above steps, the next step is to enable the table maps. Microsoft has provided many table mappings between D365FO and D365 CE environments. These are in not running state by default.
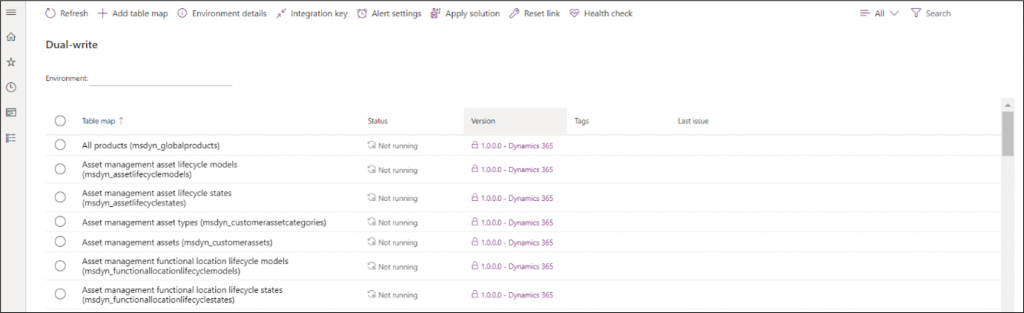
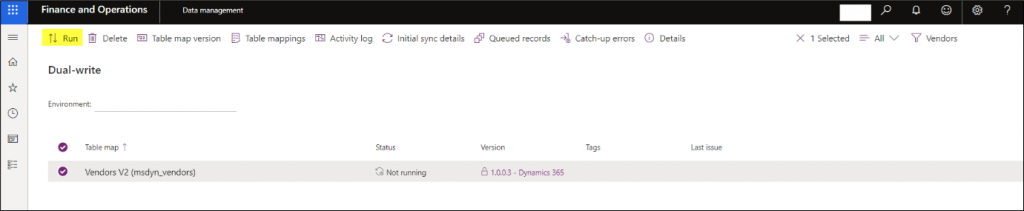
16. Select any table map and run it. This will start the dual–write integration.
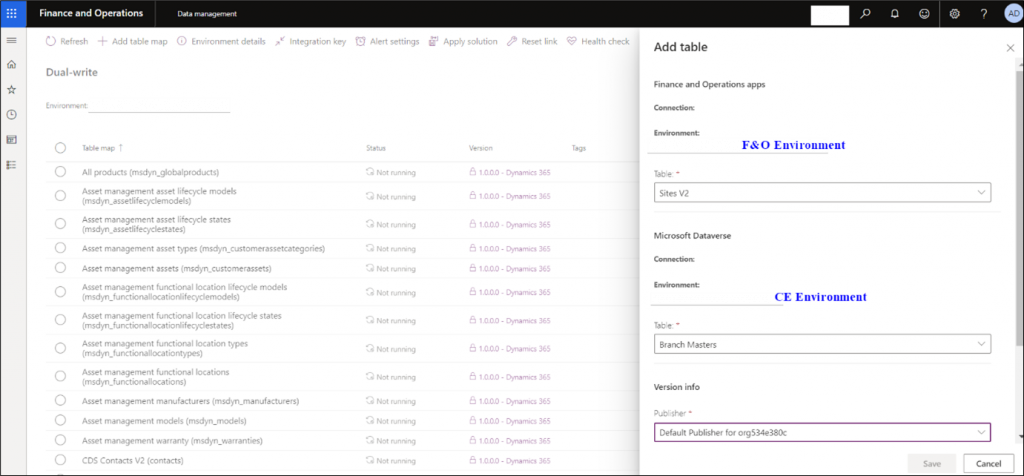
17. To create custom table map, click on Add table map icon. Select the D365FO entity and the D365 CE entity. Enter the publisher’s name and version number of the table map.
18. Click on Add Mapping to map the fields between the two applications.
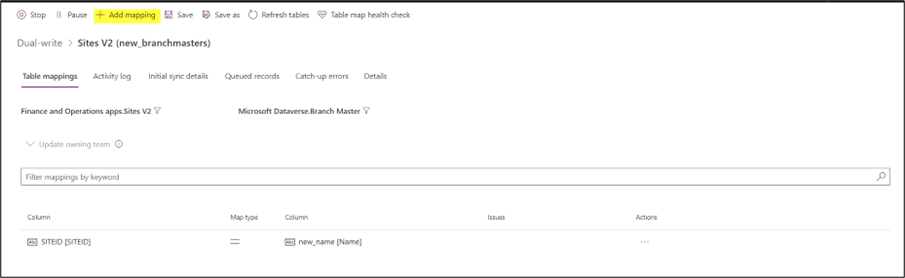
Different Map Types:
| Map Type | Direction |
| Dynamics 365 Finance and Operations apps to Dataverse | |
| Dataverse to Dynamics 365 Finance and Operations apps | |
| Bidirectional | |
| Dynamics 365 Finance and Operations apps to Dataverse with Default value set. | |
| Dataverse to Dynamics 365 Finance and Operations apps with Default value set. |
19. Once all the mapping is completed, run the table map to make it active.
You have now completed configuration for dual-write, giving you the benefits of an automated dataflow between D365 CE and D365 F&O!
About the expert

Chirag Sethi, Senior Consultant, OnActuate
Chirag is a D365F&Sc Microsoft Dynamics certified technical lead with 13 years of experience in application designing, development, integration of D365 F&Sc and D365 BC and NAV implementations. He has led teams in multiple E2E implementations in both D365 F&Sc and NAV. He has assisted businesses in addressing their requirements, providing solution/functional design documents, guiding development, testing, deployment teams in delivering final solutions.
Chirag has completed the MB-700 Microsoft Exam for Microsoft Dynamics 365: Finance and Operations Solution Architect and MB-800 Microsoft exam for Microsoft Dynamics 365 Business Central Functional Consultants.
The “OneByte” blog series are technical how-to articles by OnActuate’s expert consultants covering Microsoft Business Applications (Microsoft Dynamics, Power Platform) and related technologies. Have a topic you’d like to learn more about? Email us at info@onactuate.com!