Posted something with the wrong dimensions in Microsoft Dynamics 365 Business Central? If the data is solely used for financial reporting and doesn’t require corrections on the source document, the new Dimension Correction function in Dynamics 365 allows you to easily modify, add, or remove dimensions from any posted entries.
Follow these steps for Dimension Correction
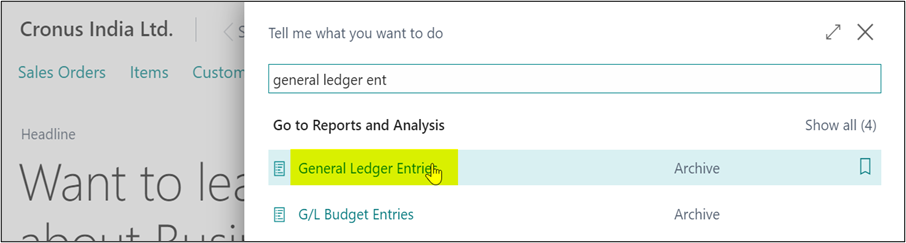
1. Search “General Ledger Entries” in search bar and select it from the list of options.
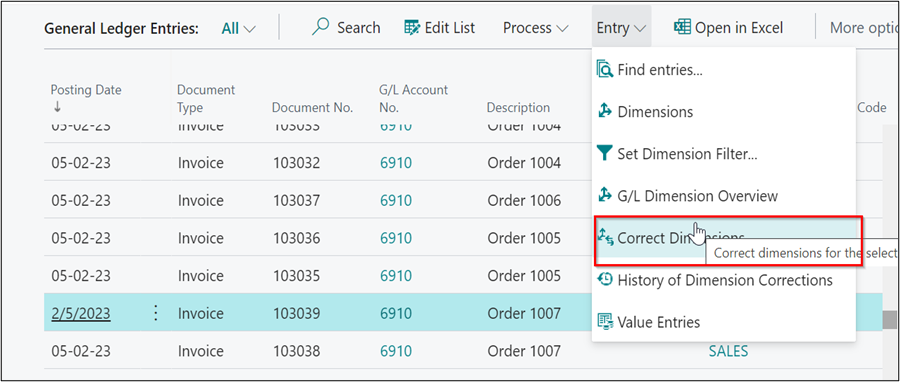
2. Select entries where the Dimension needs to be corrected and then click on “Correct Dimension”.
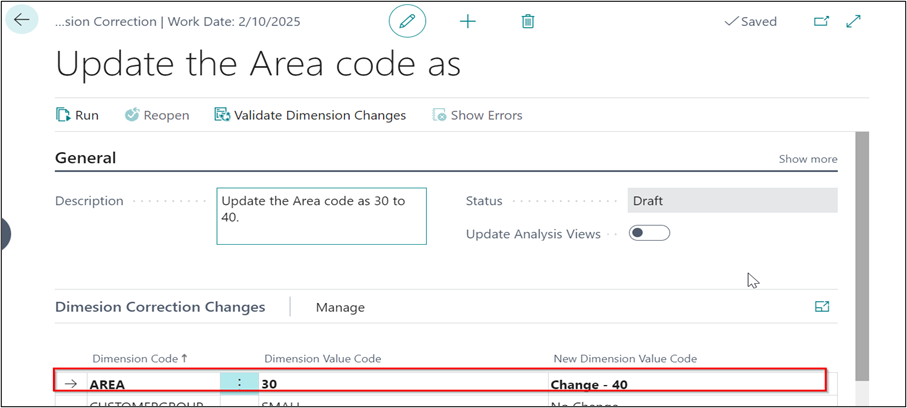
3. When you click on “Correct Dimension” the form shown below will open. Fill in the required details. In the example below I have updated the AREA Dimension Value code from 30 to 40.
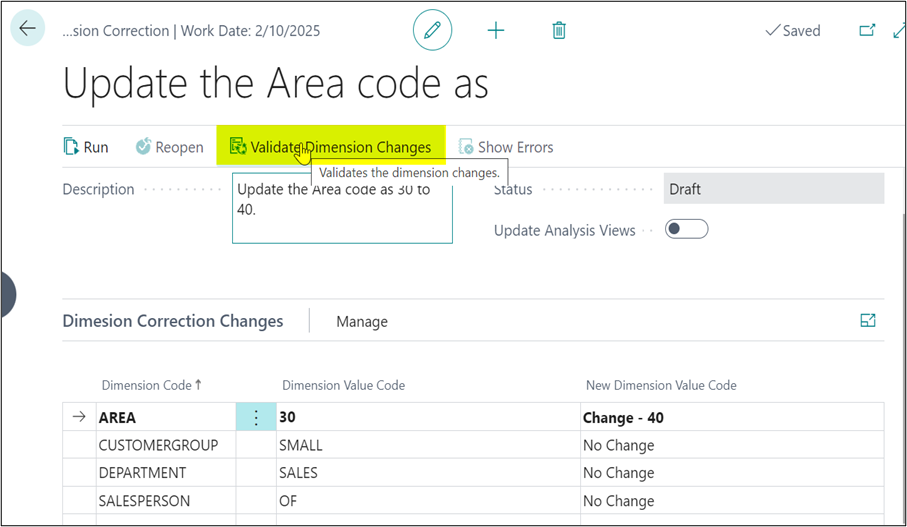
4. To discover if there is any discrepancy with the new dimension which we have changed, click on “Validate Dimension Changes”.
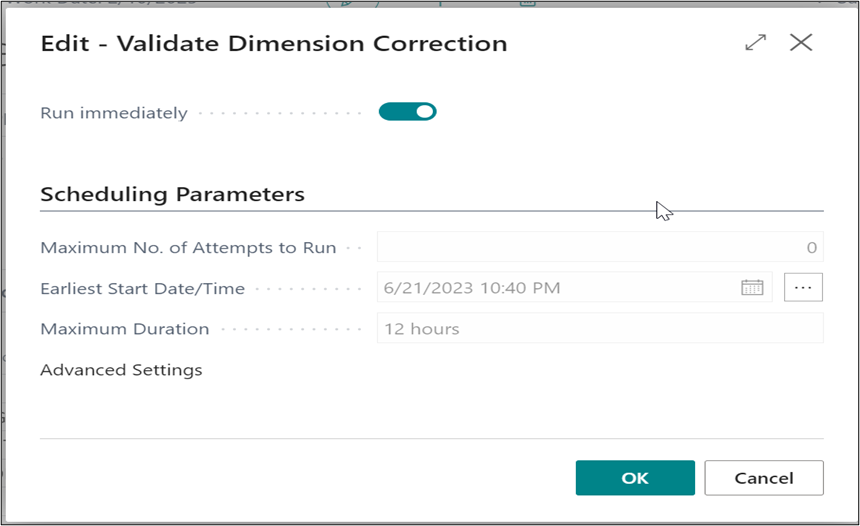
5. After clicking on “Validate Dimension Changes”, we can see the details that need to be configure. For my example I have scheduled to run the Validate Dimension Correction as “Run immediately” and then click on OK.
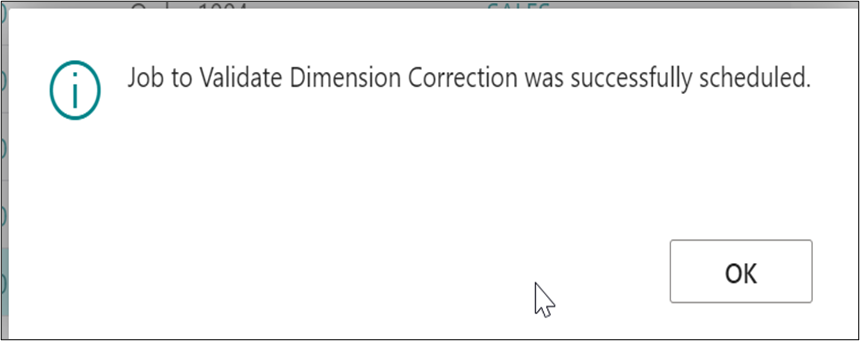
6. The pop up will appear letting you know that the Validate Dimension correction is scheduled. Click on OK.
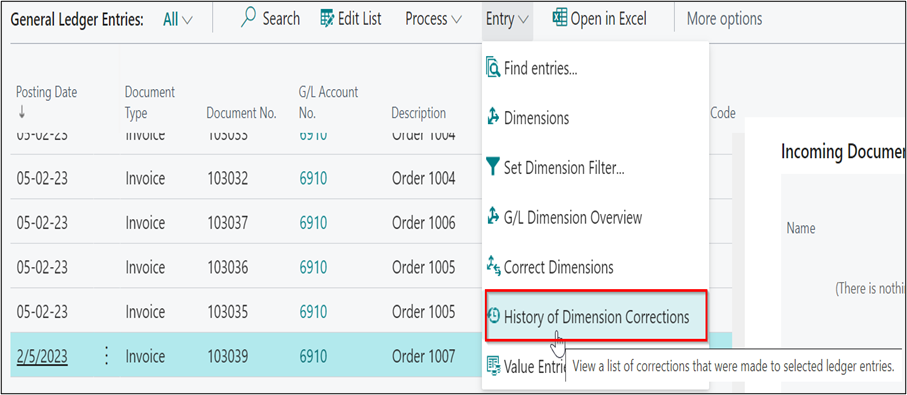
7. Click on “History of Dimension Corrections”.
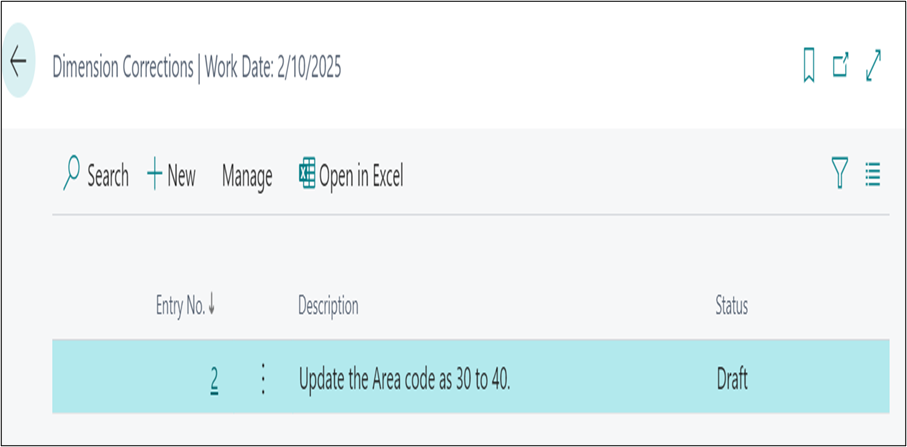
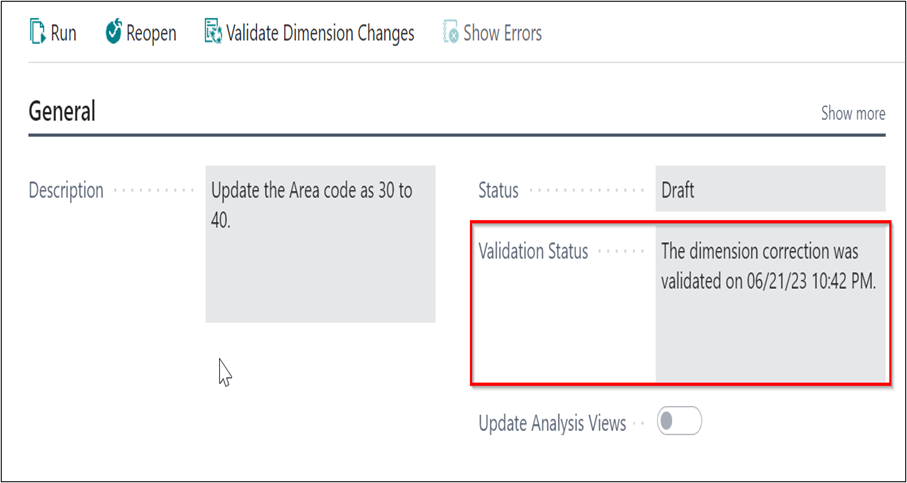
8. Now, you can see the history of the selected entry and the current status, which is currently Draft State.
9. When you edit the History of Dimension Correction, it will update with the details and date and time stamp.
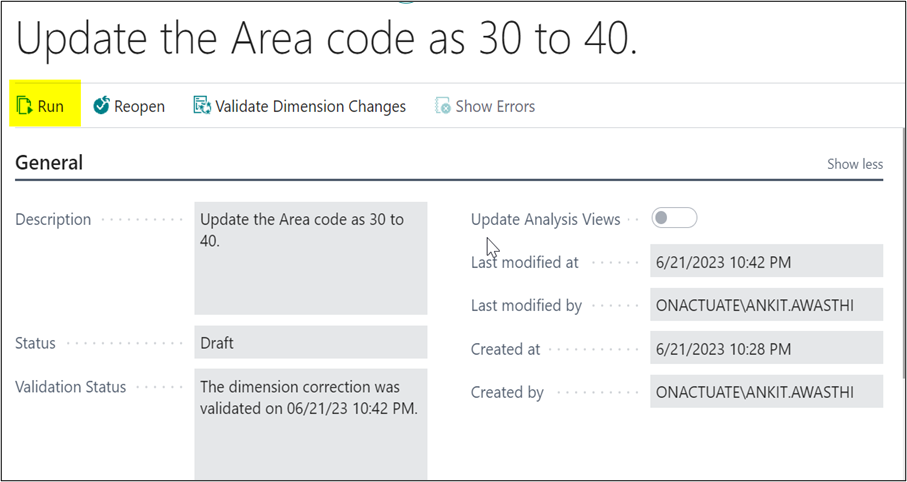
10. Now, we can proceed to update the Dimension by Clicking on “Run” Action.
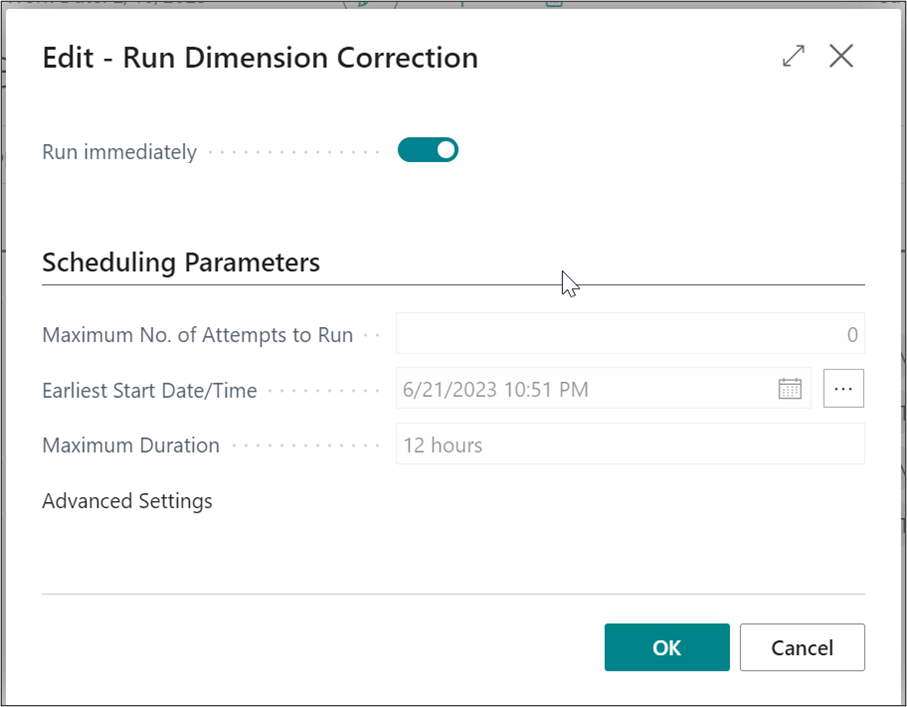
11. After clicking on Run, the below pop up will appear and we will need to configure the details. For my example I have set it as “Run immediately”. And then click OK.
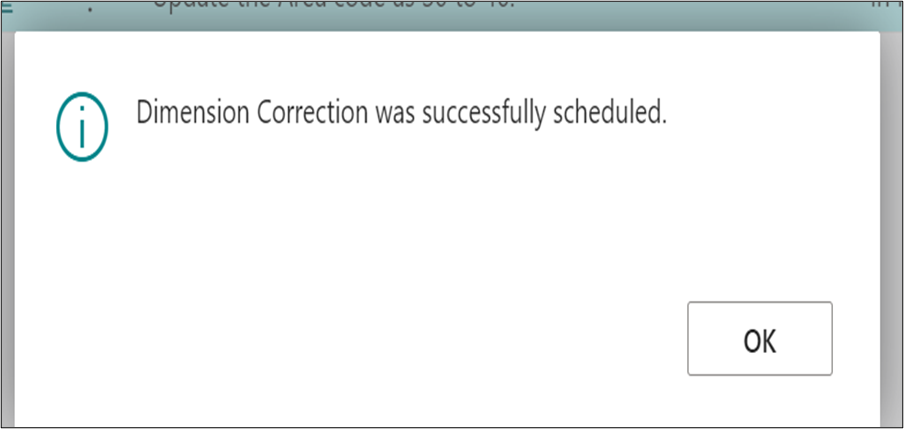
12. The pop up letting you know that the Dimension correction is scheduled successfully, will appear. Click on OK.
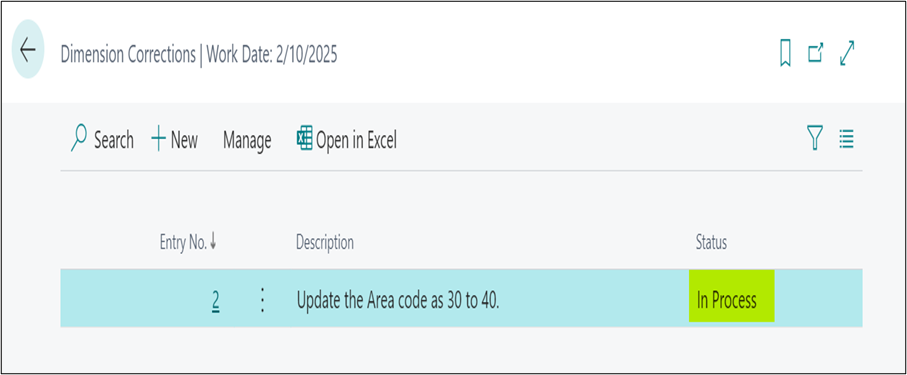
13. The status will update Dimension Correction shown as in process.
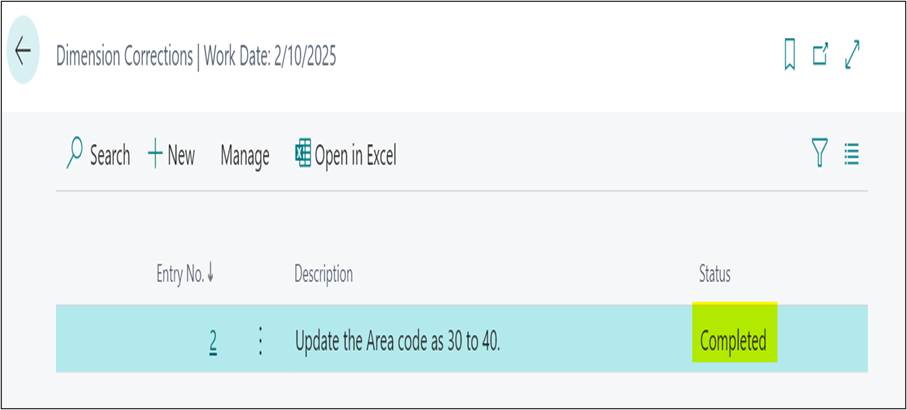
14. When you go back to your selected GL entries and click on ““History of Dimension Corrections”, the status will be updated as “Completed” as shown below.
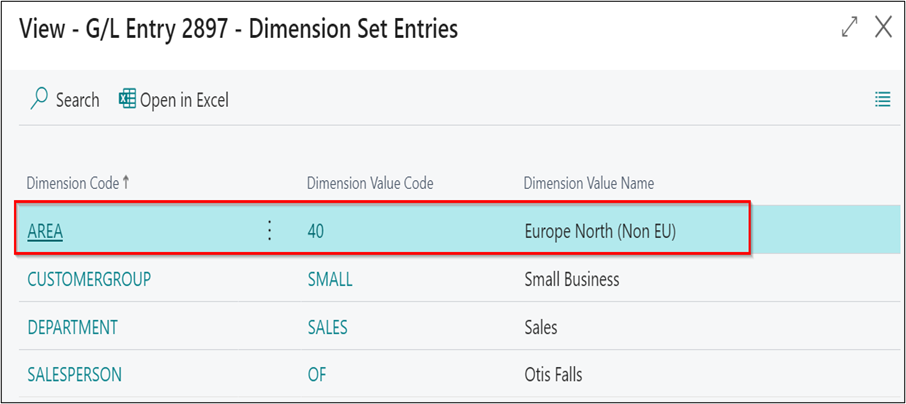
15. You can validate your dimension is updated successfully on the selected GL entry.
Exception: This Dimension Correction tool will be applicable only for GL entries, not for Customer ledger and other ledger etc.
About the expert

Ankit Awasthi, Business Central Technical Consultant, OnActuate
With over 4 years of experience in working with Microsoft technologies, Ankit excels in release management, deployments, and effectively managing ES with Role and permissions for customer projects.
The “OneByte” blog series are technical how-to articles by OnActuate’s expert consultants covering Microsoft Business Applications (Microsoft Dynamics, Power Platform) and related technologies. Have a topic you’d like to learn more about? Email us at info@onactuate.com!