
Microsoft Copilot in Dynamics 365 goes beyond chat – it connects natural language requests directly to business data and can even take action on your behalf.
Learn how to build and deploy Dynamics 365 AI Agents using Microsoft Copilot in five strategic steps. Connect natural language requests directly to your F&O business data to automate complex workflows, improve decision-making, and reduce manual effort across your organization.
Step 1: Understand What Copilot Agents Do
Copilot agents process natural language input, connect to Microsoft Dynamics 365 Finance & Operations data, and return answers or execute actions.
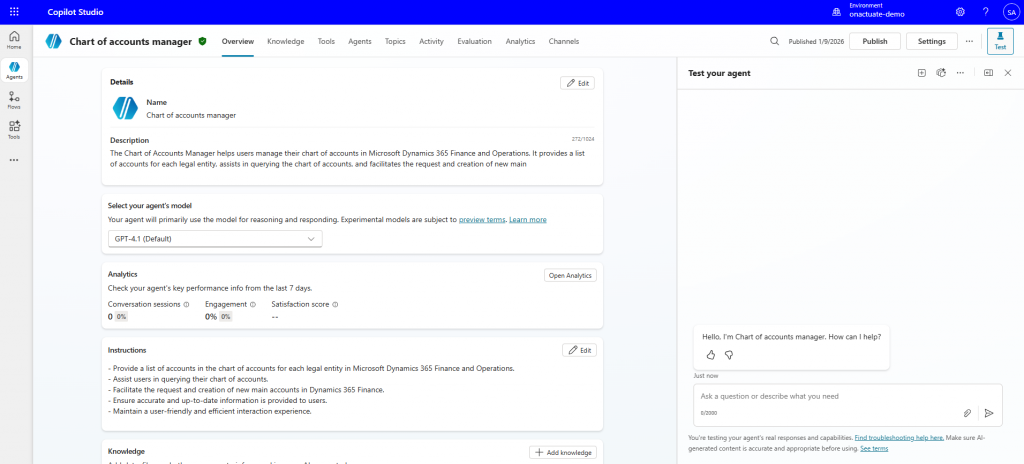
Step 2: Set Up Copilot Studio
Access Copilot Studio, enable Finance & Operations virtual entities, configure Azure app permissions, and prepare required IDs.
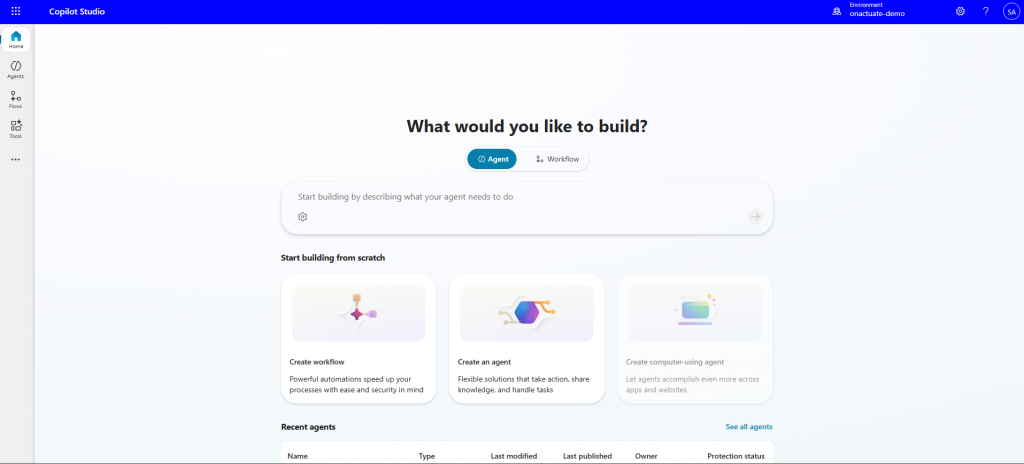
Microsoft Copilot Studio homescreen
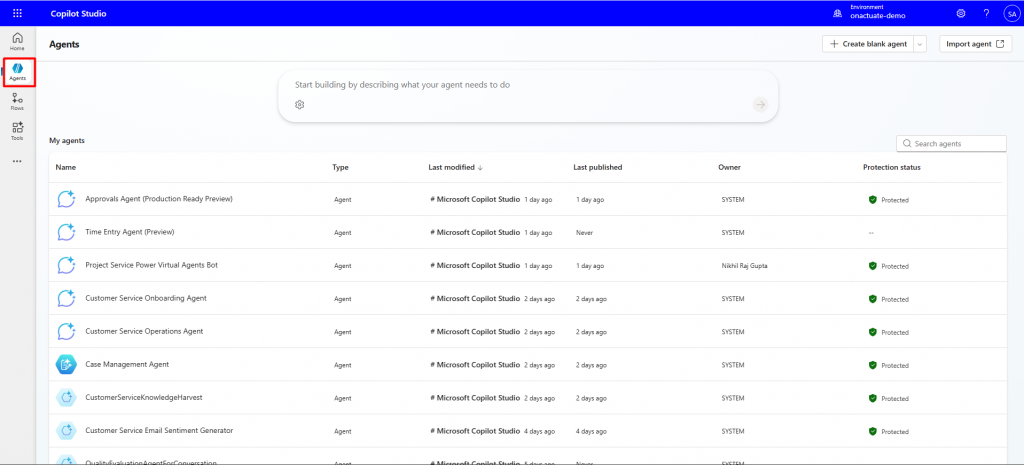
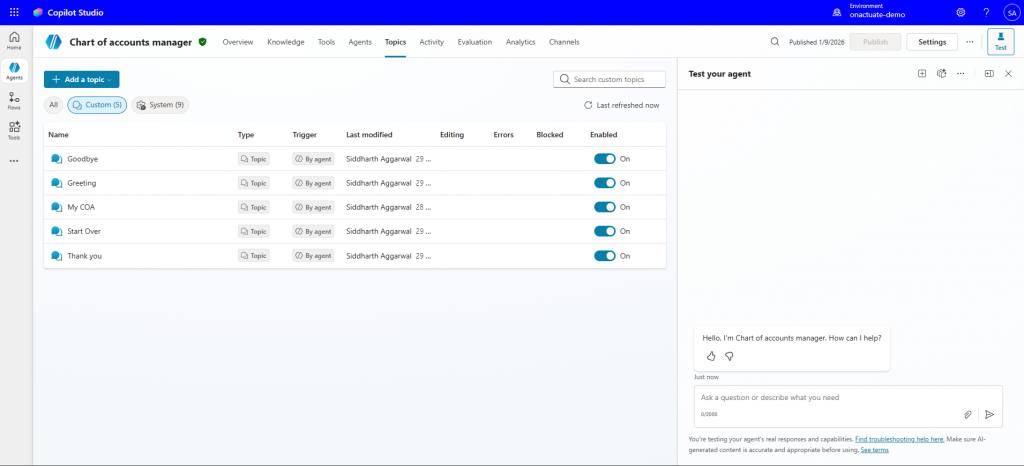
AI Agents in Microsoft Copilot Studio
Step 3: Retrieve Inventory On-Hand Quantities
Add inventory tables as knowledge sources to enable real-time inventory queries.
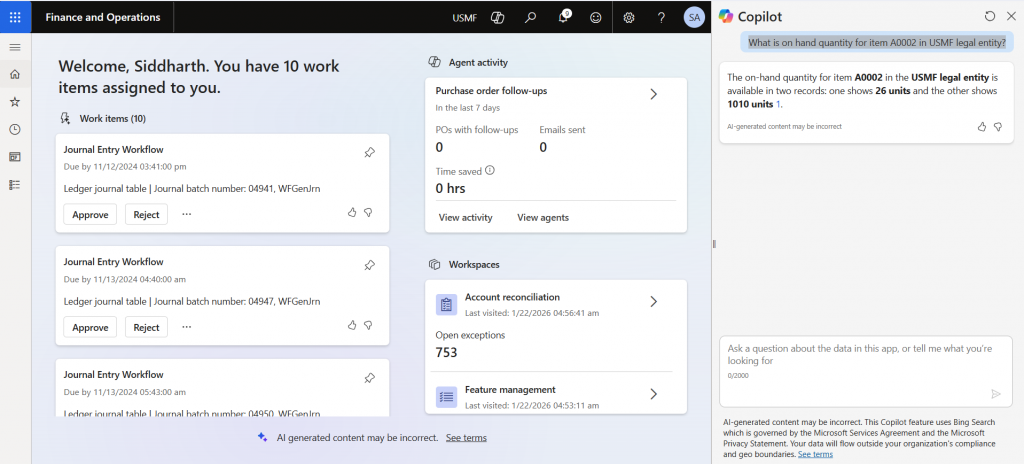
Inventory query result
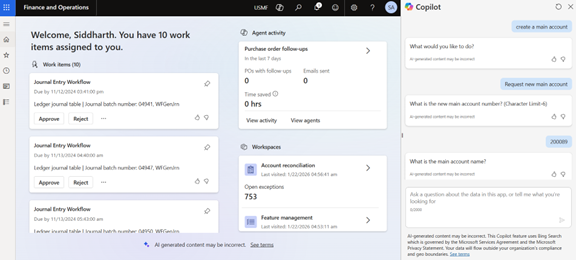
Agent-driven main account creation
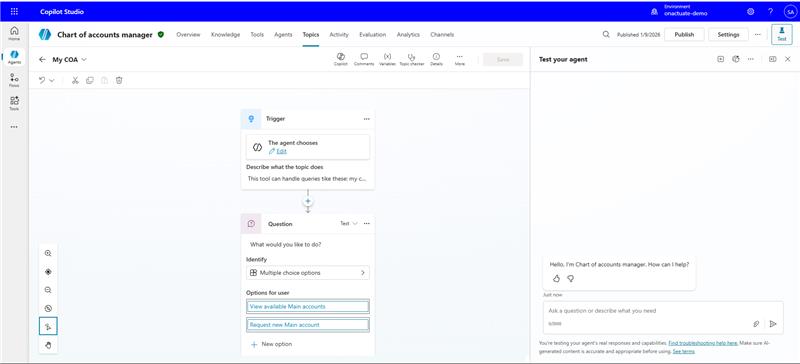
Step 4: Build a Custom Chart of Accounts Agent
Create a custom agent to guide users through account creation using prompts and adaptive cards.
Custom Chart of Accounts Agent Set-Up 1
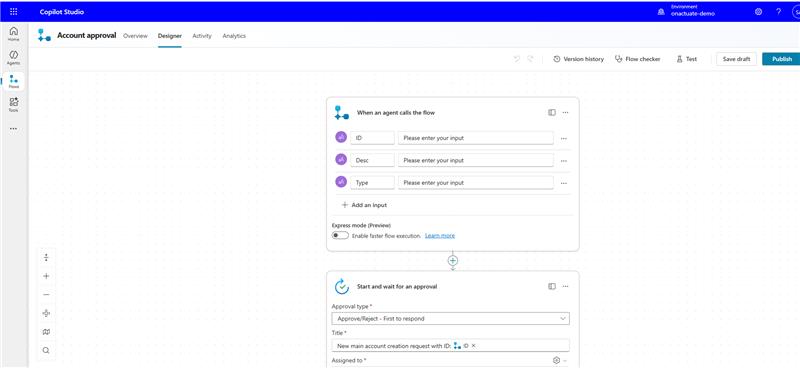
Custom Chart of Accounts Agent Set-Up 2
Step 5: Trigger Approvals and Automate Creation
Use Power Automate approvals to validate and automatically create records in Dynamics 365.
Why It Matters
AI agents move Copilot from guidance to execution, reducing manual effort and improving efficiency.
Ready to explore what Copilot and AI Agents could look like in your Dynamics 365 environment? OnActuate provides AI readiness assessments and 1:1 advisory sessions to help organizations turn potential into practical, secure, and scalable solutions. Contact our experts today.
You may also like…
 3 Ways to Boost Productivity with AI |
 Linking Power Apps with Dynamics 365 for the ultimate business solution experience |
Microsoft Azure Data Factory and Data Lakes |


