
Whether you’re syncing data from a CRM, updating orders from an e-commerce platform, or automating internal processes, integration is key to keeping your business systems connected and efficient.
In the world of Microsoft Dynamics 365 Finance & Operations (D365 F&O), one of the most powerful tools for automation is the Recurring Batch Job. With OData APIs in place, organizations are better positioned to feed consistent, real-time data into AI tools and models.
In this first installment of our 3-part integration blog series, we’ll break down the fundamentals:
- What recurring batch jobs are and how they help automate scheduled tasks
- Why they’re essential for seamless integrations
- How to set up your OData (Open Data Protocol) API using Postman
If you’re new to integrating with D365 F&O or just want a clearer understanding of recurring batch concepts, this guide will give you a solid foundation to build from – without getting lost in technical jargon.
Let’s Begin with a Practical Implementation
To bring these concepts to life, we’ll walk through a hands-on example using an entity called PaymentTermEntity. This entity will help us demonstrate both inbound (importing data into D365 F&O) and outbound (exporting data from D365 F&O) recurring integrations.
Step 1: Set Up a New Environment in Postman
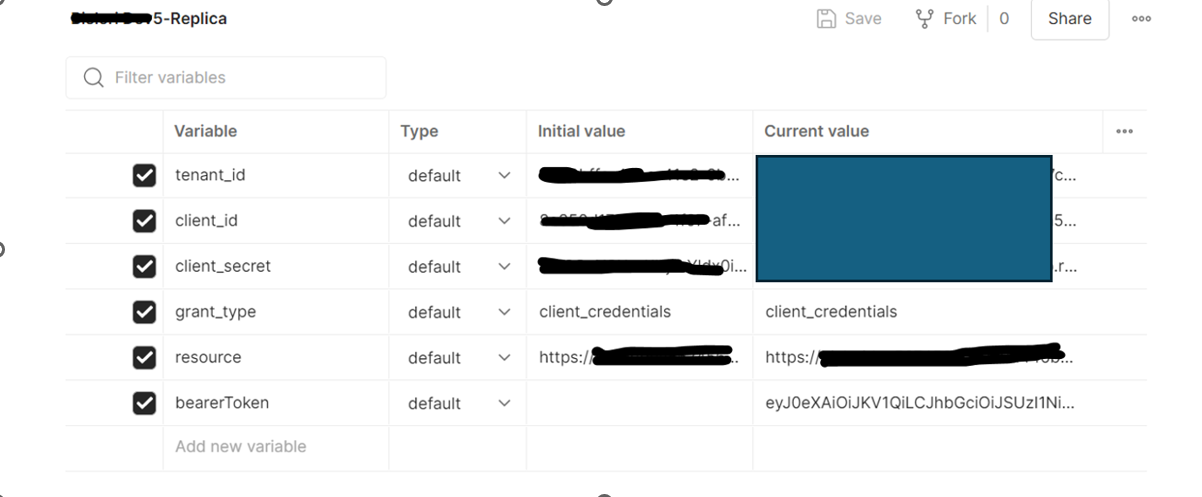
To start, we’ll configure a new environment in the Postman app, which allows us to store and reuse variables (like tokens, URLs, and headers) throughout our API requests. Open the Postman app.
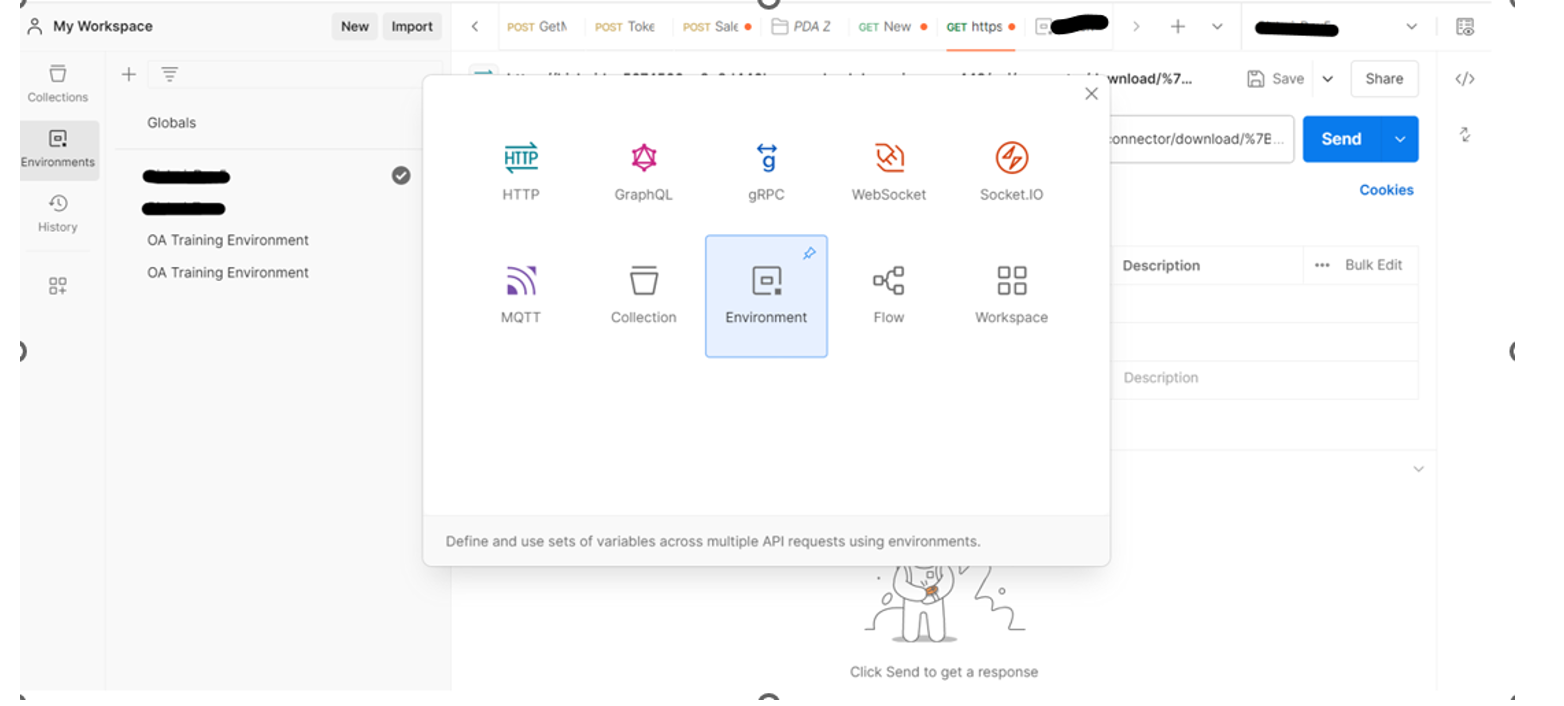
1. Click on the “Environments” tab on the left panel (or use the gear icon in the top right and select “Manage Environments”).
2. Click on New Button and select Environment.
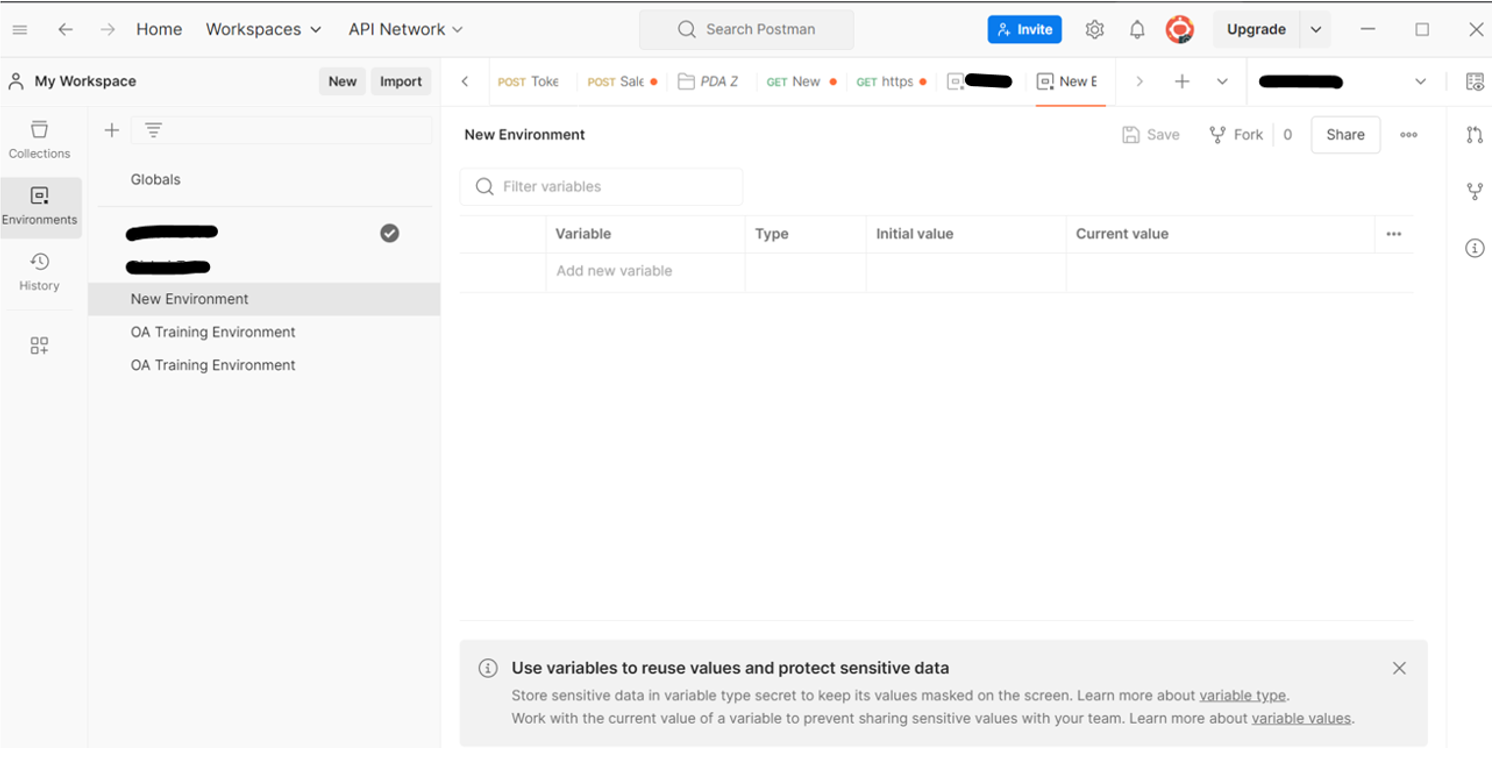
3. The new environment has been successfully created and named “New Environment”. (You can rename it at any time.)
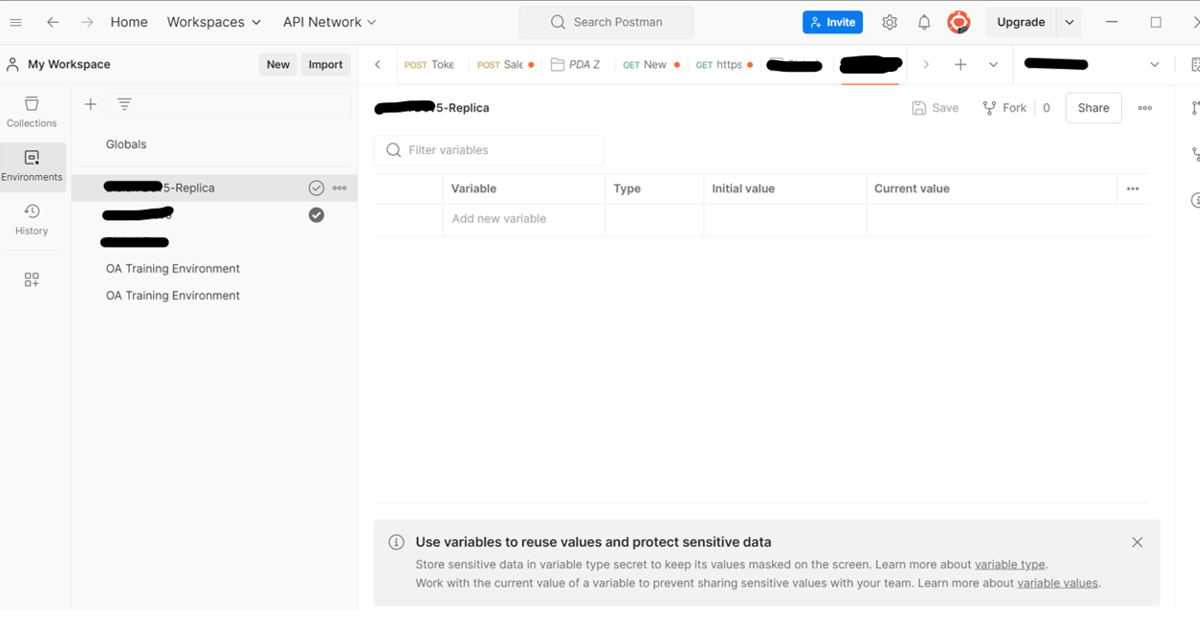
4. Rename the environment based on the specific environment you’re working with. For confidentiality, we’ll only display the final segment – for example, “5-Replica”.
5. All variables have been entered manually.
Note: You also have the option to import the environment configuration instead of entering each variable individually.

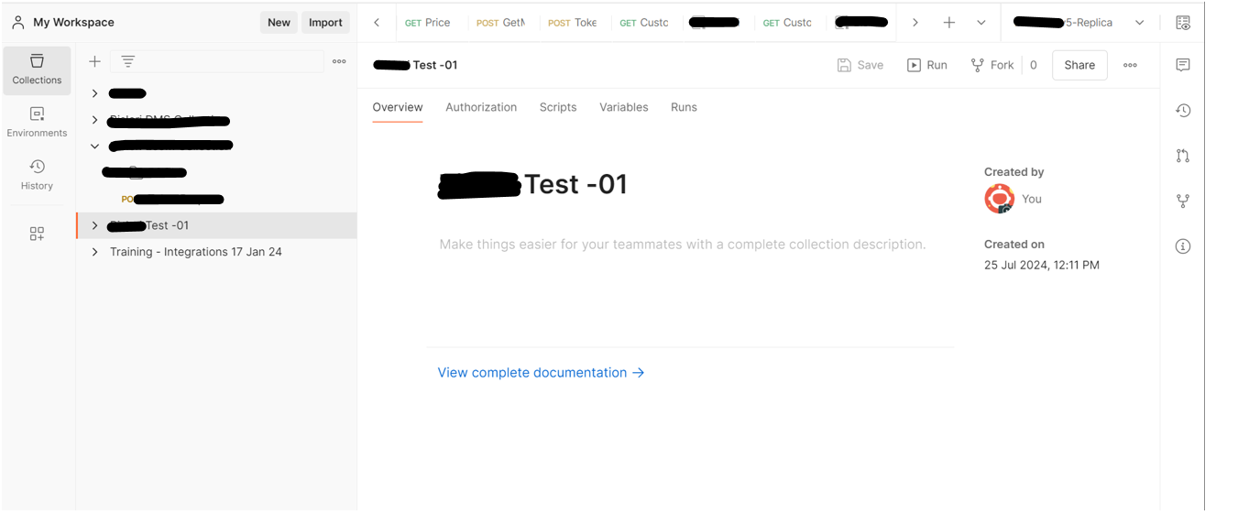
Step 2: Create a New Collection
- Click on the “Collections” tab in Postman.
- Click the “New” button.
- Enter a name for your new collection.
For confidentiality, we’re only displaying the last segment of the collection name – for example: Test-01.
Step 3: Generate an Access Token
- Add a new request to your collection:
- Right-click on the collection name or
- Click the three dots next to the collection name and select “Add Request.”

2. Change the URL method from ‘GET’ to ‘POST’.

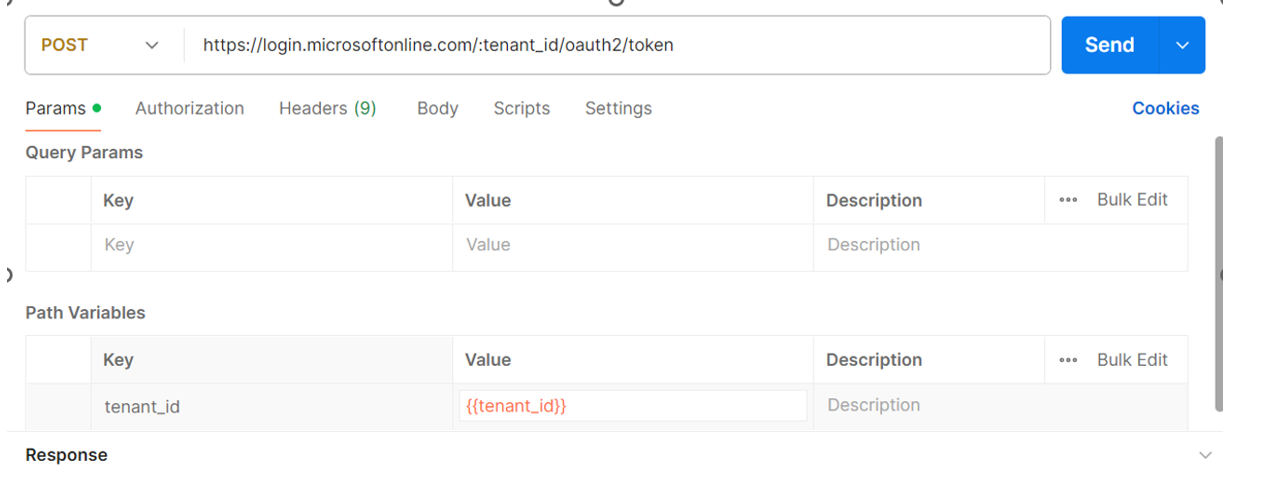
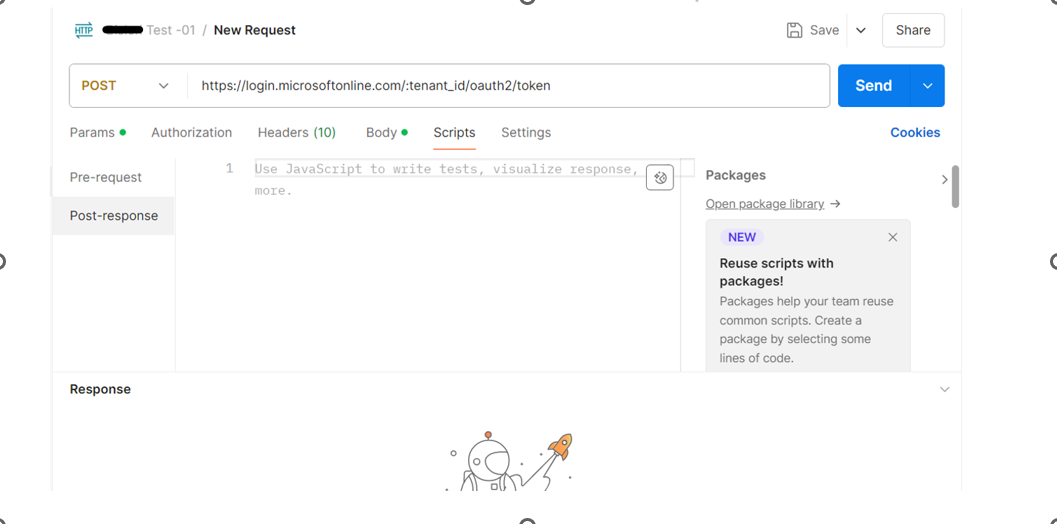
3. Enter the URL: https://login.microsoftonline.com/:tenant_id/oauth2/token .
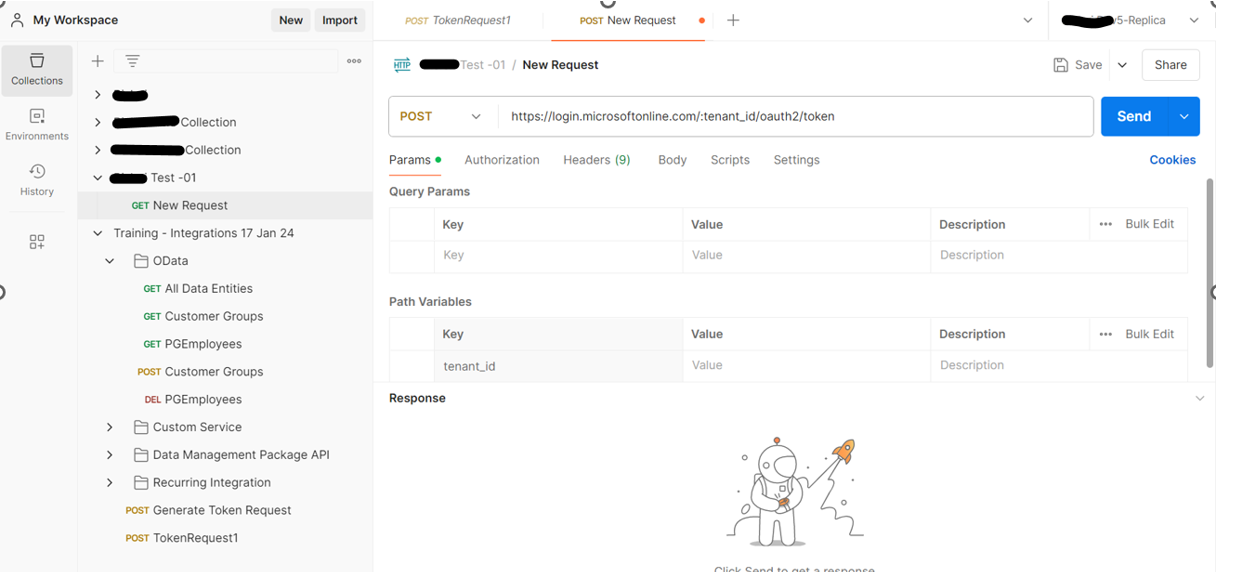
4. In Params Tab, enter the value of the tenant_id, i.e.1 {{tenant_id}}.
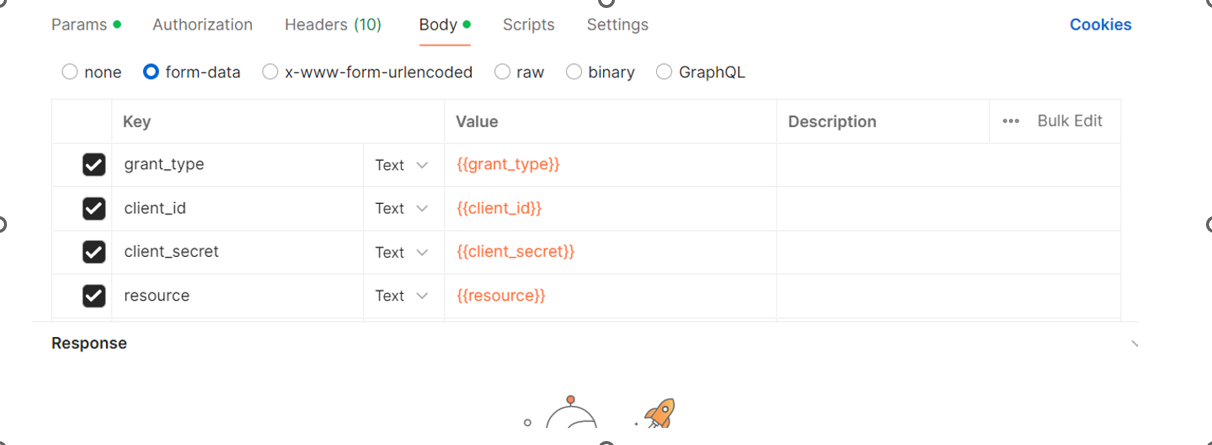
5. In the Body Tab, select the option form-data. On selecting form-data, a new header is created automatically i.e. Content-Type which will have this value “multipart/form-data; boundary=<calculated when request is sent>”.
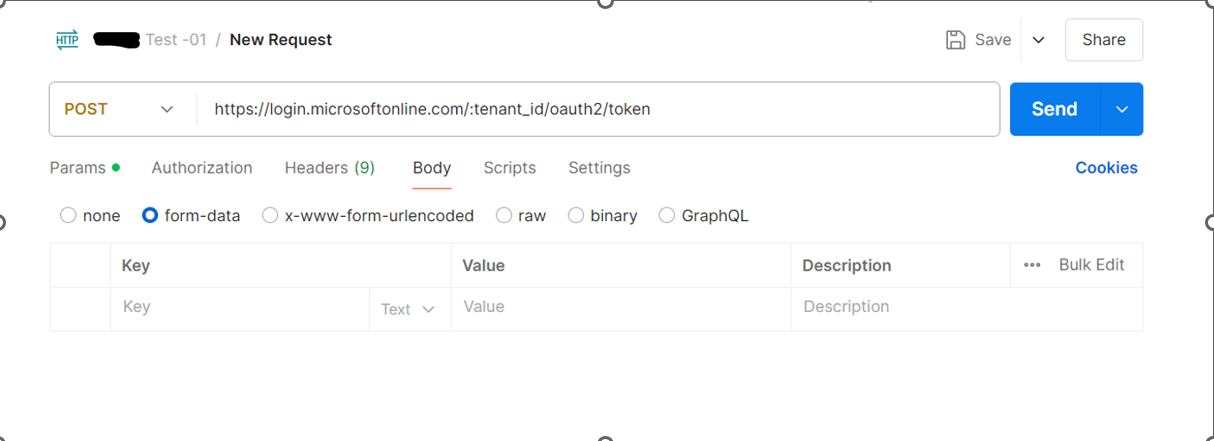
6. Enter Key-Value pair. The key-value pair contains grant_type, client_id, client_secret, resource.
7. In the Scripts tab, select post-response.
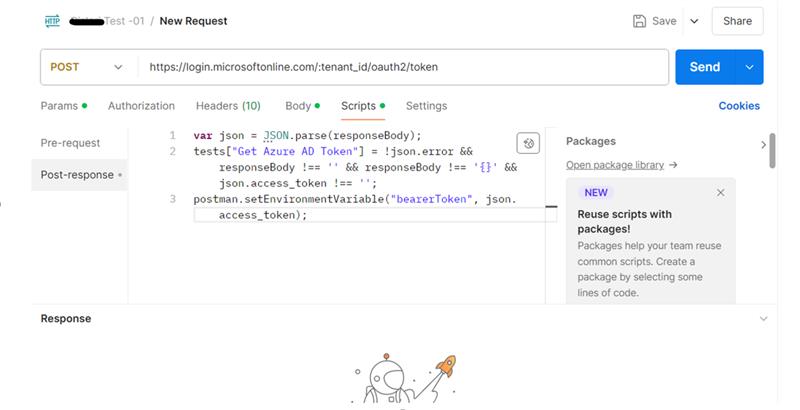
8. Write Javascript code to store the value of access token in bearerToken variable.
9. Click the Send button to see the reply from the website address. This will show you what the site sends back when a request is made.
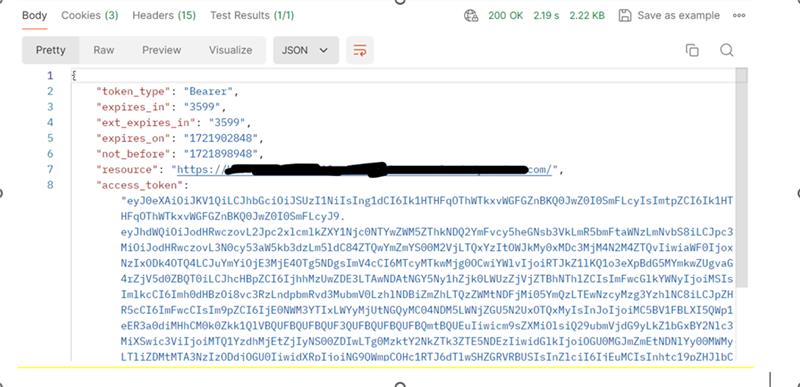
10. In Request 166 – ShapeIn, the bearerToken variable will store the access_token value. You can verify the token value directly from this request.
Note: Change the name of this request to ‘Generate Token Request’.
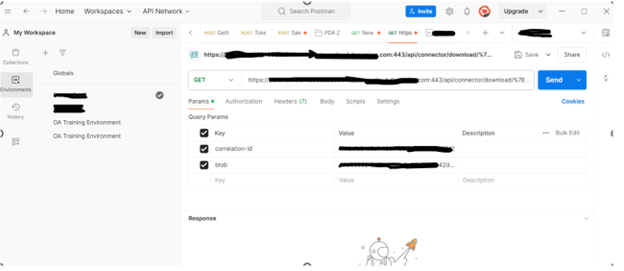
Step 4: Create API for Entity – PaymentTermEntity
Outbound without Recurring Batch Job
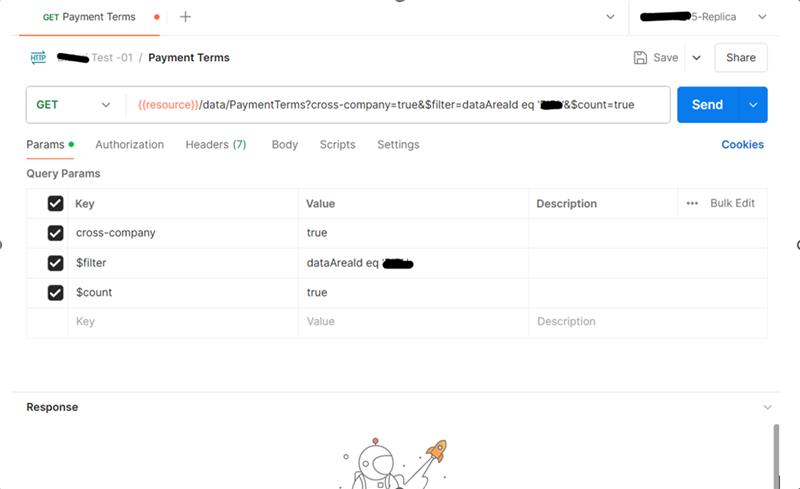
1.Right click on Collection name and add a new Request and name the Request to Payment Terms.
- Enter the URL and add various parameters to it.
- URL: {{resource}}/data/Public Collection Name
Note:
- cross-company = true: By default, OData returns only data that belongs to the user’s default company. To see data from outside the user’s default company, specify the ? cross-company=true query option. This option will return data from all companies that the user has access to.
- $filter = dataAreaId eq ‘usmf’: Select only those records from entity where dataAreaId = ‘usmf’
- $count = true: Use the $count query option (value set to true) to request a count of matching records returned along with the records in the response.
3. In the Headers tab, add the headers of Authorization and Content-Type headers.
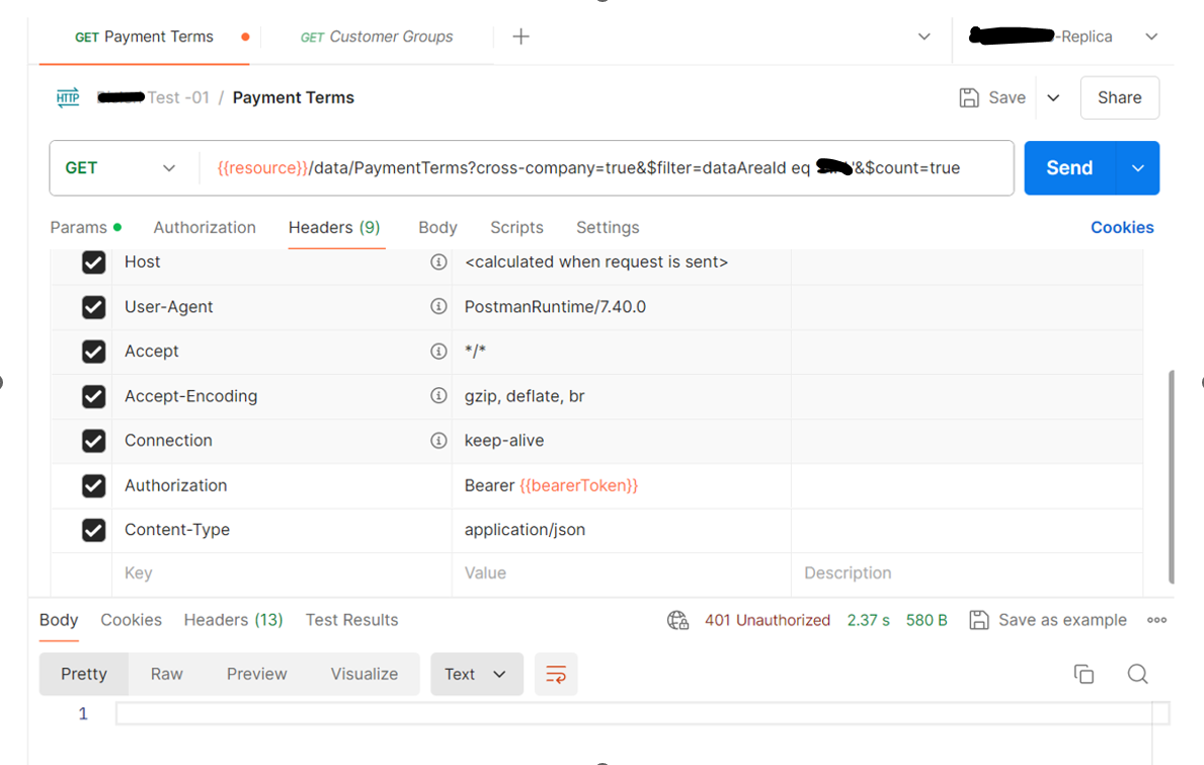
4. In the Body tab, select the raw option.
5. Click on the Save button and check the API response.
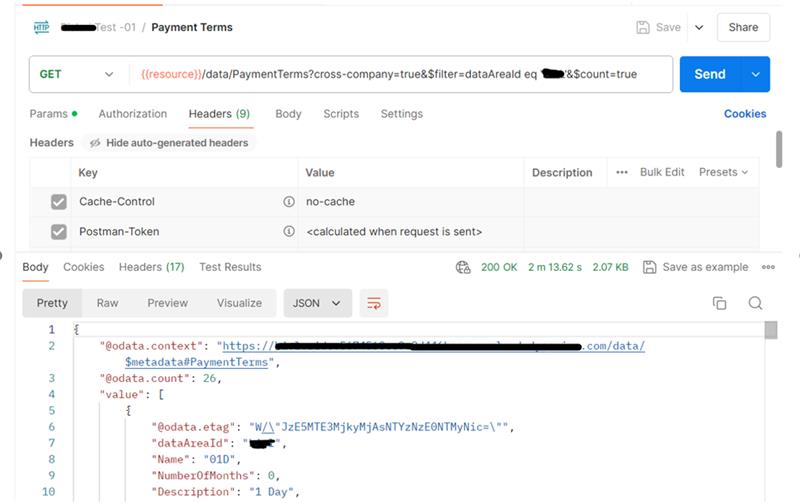
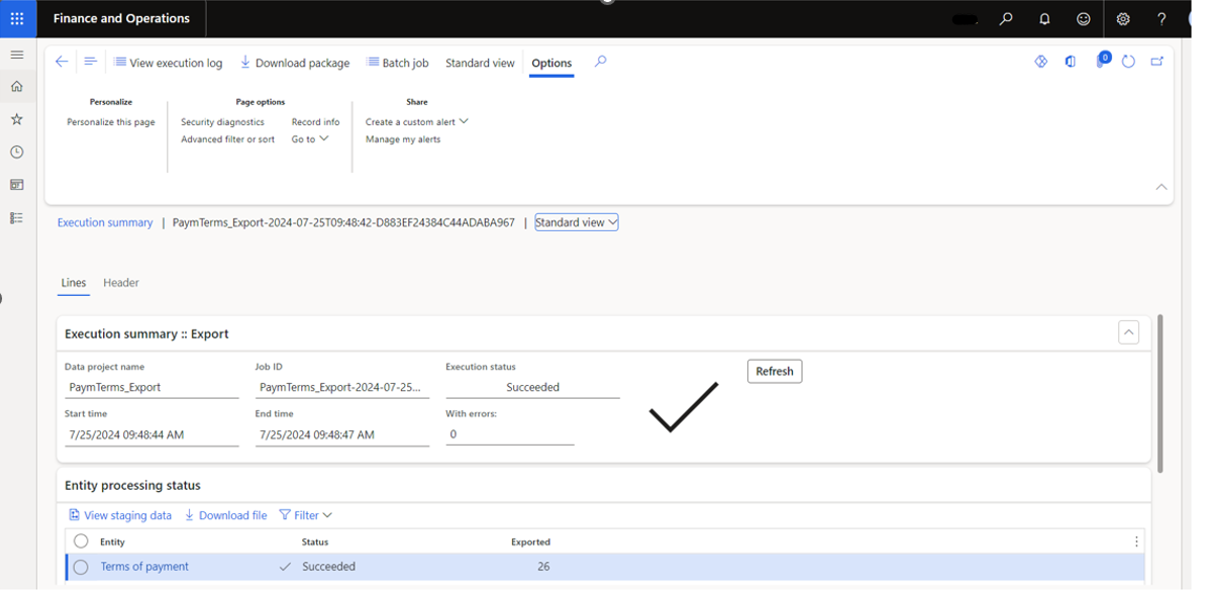
Step 5: Validate the API Response
- Create an Export Project in D365 F&O.
- Add the “Terms of payment” entity to the project.
- Export the project to retrieve the data.
You can confirm the response is accurate by comparing the total number of records exported with the results returned by the API.
Total number of records: 26
- The number of records exported from the project is 26, and the number of records returned in the API response is also 26.
- This confirms that the API was executed successfully.
Your First Step Toward Seamless System Connectivity
In this article, we covered the fundamentals of integrating with Microsoft Dynamics 365 Finance & Operations using OData APIs – focusing specifically on outbound integration without a recurring batch job. You learned how to set up a Postman environment, create collections and requests, use query parameters like cross-company and $filter, and validate your API response through an export project in D365 F&O.
This foundational knowledge is essential for anyone looking to build reliable, automated data flows between D365 and other systems.
Now that we’ve seen how to fetch data from D365 F&O, it’s time to explore how to push data into the system using recurring batch jobs. In Part 2 of our OneByte integration series, we’ll walk through an inbound integration setup using the same PaymentTermEntity. You’ll learn how to structure your data, configure the recurring batch job, and monitor your import process for success.
About the expert
 |
Priyansh Gupta, Microsoft Dynamics Technical Consultant, OnActuate
Priyansh Gupta is a Microsoft Dynamics 365 Finance & Operations Technical Consultant with hands-on experience in platform customization, development, and integration. With a strong focus on streamlining business processes and enhancing user experience, Priyansh brings a practical approach to solving real-world challenges within D365 F&O. He holds the MB-500 certification in Dynamics 365 F&O development and is passionate about sharing his technical knowledge through blogging and community engagement. |
The “OneByte” blog series are technical how-to articles by OnActuate’s expert consultants covering software solutions that enhance operational efficiency, such as Microsoft Business Applications (Microsoft Dynamics, Power Platform) and Dayforce. Have a topic you would like to learn more about? Email us at info@onactuate.com!
Additionally, you can also read…
 OneByte: Custom Workspace in Dynamics 365 F&O |
How to Install Development Tools for D365 F&O |
 Public Sector Budget Planning and Forecasting in D365 FO Tipsheet |

